Simple Tips for Juicer Maintenance
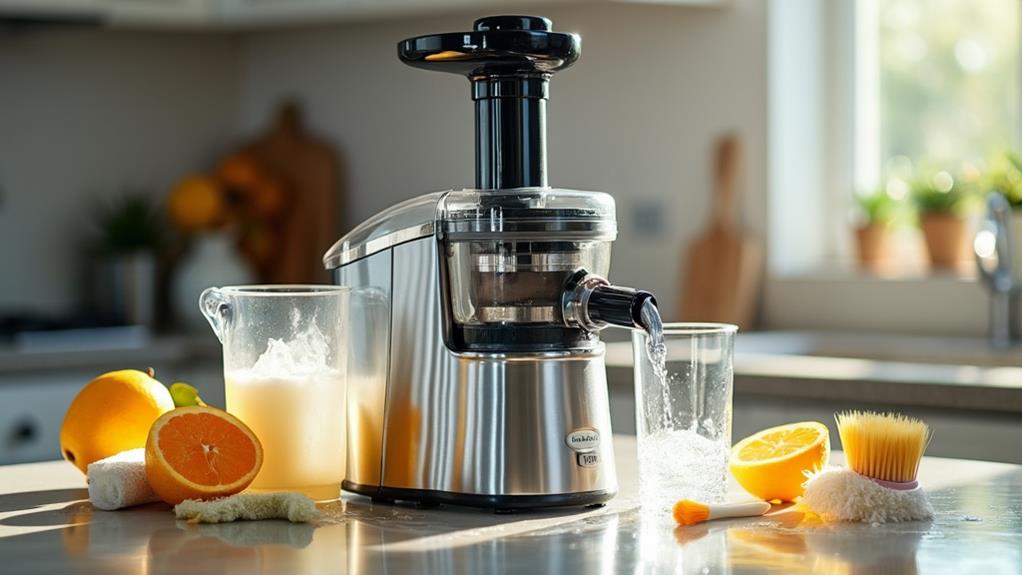
Maintaining your juicer is simpler than you might think and can significantly extend its lifespan. Clean it immediately after each use to prevent residue buildup. Disassemble all detachable parts and rinse them under running water, using a soft-bristle brush for stubborn spots. For the base, a simple wipe-down with a damp cloth is sufficient; avoid submerging it in water. To tackle lingering odors and stains, there are effective methods to ensure your juicer remains in top condition. Want to know more? Let's explore further.
Importance of Regular Cleaning
The importance of regular cleaning for your juicer cannot be overstated. By cleaning your juicer after each use, you prevent the buildup of pulp and skin, which can harbor bacteria and mold. This essential step ensures you follow safe juicing practices, safeguarding both your kitchen and your health.
Failing to clean your juicer can lead to long-term damage. Over time, leftover residue can cause malfunctions and reduce the performance of your machine. Immediate cleaning minimizes the risk of foodborne illnesses by eliminating remnants that can ferment and grow harmful bacteria.
A clean juicer not only extends its lifespan but also maintains the quality and taste of your juice. Residual contaminants can alter the flavor, making your fresh juice less enjoyable. Therefore, cleaning after every use is crucial for consistently delicious drinks.
Fortunately, many juicer components are dishwasher-safe, making regular cleaning convenient and requiring minimal effort. Incorporating this routine into your kitchen habits ensures that maintaining your device becomes seamless. Regular cleaning is the key to keeping your juicer in top shape.
Quick Cleaning Techniques
To keep your juicer in optimal condition, unplug it immediately after use and disassemble all key components. Rinse each part under running water to prevent residue from drying. Use a toothbrush or the provided brushes to scrub hard-to-reach areas. Lastly, clean the juicer base with a damp cloth, ensuring it is not submerged in water.
Immediate Disassembly Steps
After juicing, unplug your juicer immediately to ensure safety during disassembly and cleaning. Begin by removing all detachable parts, such as the pulp container, juice jug, and filter. Doing this right away prevents the pulp from drying and becoming difficult to remove, making the cleaning process faster and more efficient.
Use the provided brushes or a toothbrush to scrub each part, focusing on the mechanisms and hard-to-reach areas. This ensures you remove all pulp and juice residue, preventing build-up over time. Pay special attention to the filter, as it is crucial for maintaining your juicer's performance.
After scrubbing, rinse all parts under running water to eliminate any remaining debris. This step is essential to prevent residue from drying and hardening, which can complicate future cleanings. Always refer to the manufacturer's guidelines to determine which parts are dishwasher safe, saving you time and effort in your cleaning routine.
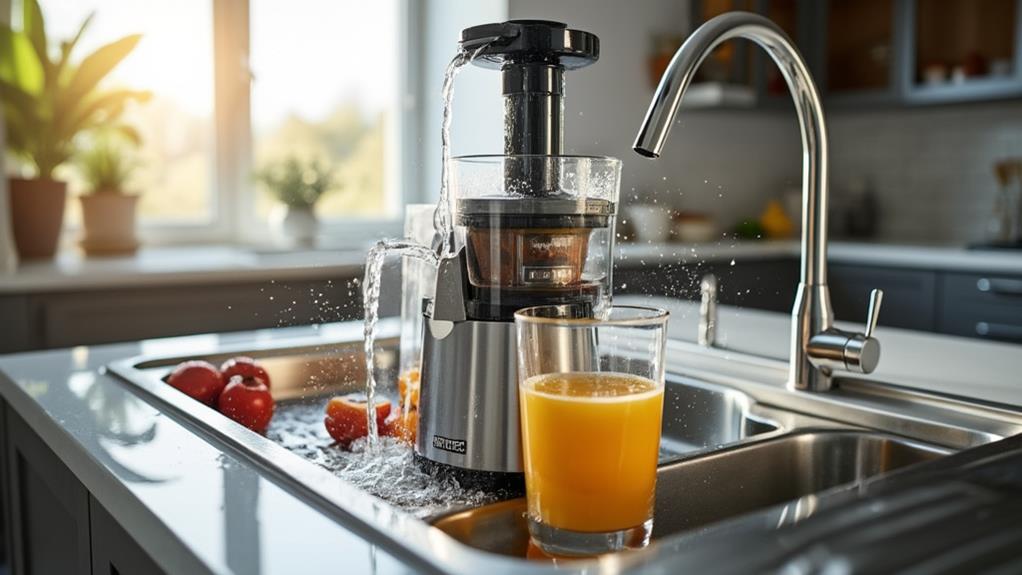
Effective Rinsing Methods
Once you've disassembled your juicer and scrubbed its parts, the next step is to rinse everything thoroughly. To start, unplug the juicer immediately after use and remove all essential components. This prevents residue from hardening, making the cleaning process much easier.
Rinse all parts under running water as soon as possible. This swift action helps remove juice and pulp debris quickly, allowing for a more effective and less labor-intensive cleaning. Use a soft-bristled cleaning brush or the tools provided with your juicer to scrub tight spaces and intricate mechanisms. These tools are designed to clean areas that are otherwise hard to reach, ensuring a thorough cleanse.
Hand-rinse each component before placing them in the dishwasher. This step is vital to prevent any residue from drying and hardening, which can complicate cleaning later. Make sure all parts are completely rinsed and free of soap residue. Leftover soap can affect the juicer's performance and the taste of your juice. Ultimately, allow all parts to air dry completely before reassembling the juicer. By following these steps, you'll ensure your juicer operates at its best and lasts longer.
Rinsing and Dishwasher Use
Proper rinsing and careful use of the dishwasher can significantly extend your juicer's lifespan. Start by hand-rinsing all juicer parts immediately after use to prevent residue from drying and hardening, making cleaning easier.
Before placing the components in the dishwasher, a quick rinse under running water is essential. This step reduces the workload on your dishwasher and ensures better cleaning results. Always check the manufacturer's guidelines to confirm which parts are dishwasher-safe to avoid damage.
Rinsing components before dishwashing not only removes major juice and pulp but also prevents odor and discoloration from setting in. Importantly, the juicer base should never be submerged in water or placed in the dishwasher; instead, wipe it clean with a damp cloth to maintain its integrity.
Here's a handy table to summarize the key points:
| Task | Action |
|---|---|
| Hand-rinse parts | Immediately after use |
| Quick rinse before washing | Under running water |
| Dishwasher-safe check | Follow manufacturer's guidelines |
| Cleaning juicer base | Wipe with a damp cloth |
Cleaning the Base
When cleaning the base of your juicer, never submerge it in water to prevent electrical damage. Use a damp cloth to wipe the exterior and connection points. For stubborn stains, gently apply baking soda. Make sure to dry the base completely to prevent sticky residues that can attract dirt.
Prevent Water Damage
To maintain your juicer in optimal condition and avoid water damage, always clean the base with a damp cloth instead of submerging it in water. Using a soft cloth ensures you clean the base without scratching or damaging the surface. Submerging the base can cause water to seep into electrical components, leading to malfunctions or permanent damage.
For persistent watermarks, applying a small amount of baking soda to your damp cloth can effectively clean without harming the finish. After cleaning, ensure the base is thoroughly dry to prevent sticky residues that attract dirt and bacteria, which can compromise the hygiene and performance of your juicer.
Additionally, regularly inspect for moisture around the connection mechanisms. Early detection and action can help maintain peak performance and prevent corrosion, extending the lifespan of your juicer. Always avoid harsh chemicals or abrasive materials to protect the finish and functionality of the base.
Remove Stubborn Stains
Maintaining your juicer free from stubborn stains significantly enhances its longevity and performance. To address stains on the juicer base, start by mixing baking soda with a small amount of water to create a paste. Apply this paste to the stained areas and gently scrub using a damp cloth. The mild abrasiveness of baking soda effectively lifts stains without damaging the surface.
Next, use a damp microfiber cloth to wipe down the exterior and connection mechanisms of the juicer base. Avoid letting water seep into the motor housing to prevent potential damage. For persistent watermarks, apply the baking soda paste and let it sit for a few minutes before wiping it away, restoring the surface to its original shine.
It's crucial to clean the base with a damp cloth after each use to prevent sticky residues from accumulating and becoming stubborn stains. Ensure the base is completely dry after cleaning to avoid moisture-related issues that could affect your juicer's performance. Regularly following these steps will keep your juicer in optimal condition.
Odor and Discoloration Treatment

Addressing odors and discoloration in your juicer can be a straightforward task with the right approach. To effectively clean the plastic parts, soak them in a solution of equal parts lemon juice and water for several hours or overnight. This natural mixture neutralizes strong odors and helps break down stains left by fruits and vegetables.
If lemon juice is unavailable, vinegar serves as an excellent alternative. After soaking, dry the parts thoroughly with a microfiber cloth to prevent moisture-related issues like mold or mildew buildup. Regularly using these solutions can help maintain your juicer's appearance and freshness.
For stubborn stains, apply a paste made of baking soda and water directly to the affected areas. Let it sit briefly, then rinse thoroughly. This method provides additional cleaning power. By incorporating these steps into your maintenance routine, you'll keep your juicer looking and smelling fresh, ensuring a more enjoyable juicing experience.
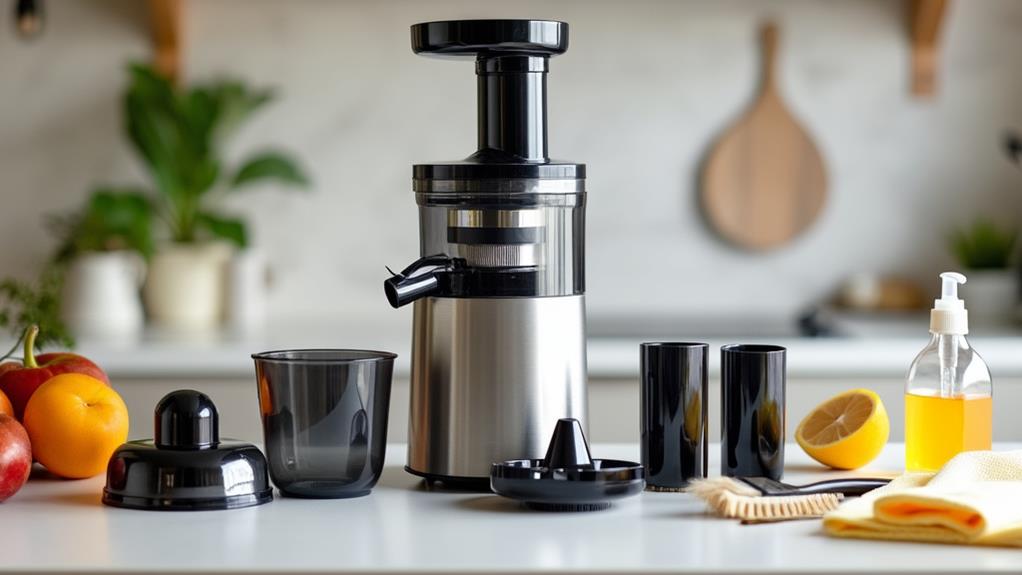
Essential Cleaning Tools
To maintain your juicer's performance and longevity, having the right cleaning tools is essential. A small toothbrush is indispensable for detailed cleaning, allowing you to reach tight spaces and scrub away residue from intricate parts. This is especially useful for hard-to-reach nooks and crannies where food particles tend to hide.
A soft scraping tool, like a rubber spatula, is also necessary. It helps remove stubborn residue from surfaces without damaging the components, particularly those made of stainless steel, ensuring your juicer remains in prime condition without scratches or wear.
For the exterior and larger parts of your juicer, a soft cloth or sponge with dish soap is highly effective. This combination prevents buildup and keeps everything looking clean and new. Use hot running water to rinse and soak the components, making it easier to dislodge and wash away any food remnants.
Lastly, a scrub brush is recommended for tougher stains and residue, especially on mesh strainers and other hard-to-clean areas. These essential cleaning tools will keep your juicer spotless and functioning at peak performance.
Steps to Clean a Juicer
To maintain your juicer's optimal performance, start by unplugging it and disassembling all parts immediately after use. Soak the components in warm, soapy water, then scrub and rinse them thoroughly to remove any residue. Finally, dry each part completely before reassembling the juicer to ensure both peak performance and hygiene.
Disassemble and Soak Components
One crucial step in maintaining your juicer is to disassemble and soak its components immediately after use. Begin by unplugging the juicer to ensure safety. Then, disassemble all parts promptly to prevent residue from drying and hardening, which complicates cleaning.
After disassembling the juicer, immerse the components in warm, soapy water. Soaking helps loosen stubborn residue, making it easier to clean. This step is essential because juice and pulp can cling to various crevices, becoming more difficult to remove if allowed to dry.
While the parts are soaking, use a soft-bristled brush to gently scrub each piece. Pay particular attention to tight spaces and crevices where residue might accumulate. This ensures a thorough cleaning, maintaining your juicer's efficiency and longevity.
After scrubbing, rinse all parts under running water to remove any soap residue and ensure they are free from juice and pulp remnants. Finally, allow the parts to air dry completely on a drying rack or towel before reassembling. This prevents moisture buildup, which can lead to mold or other issues.
Scrub and Rinse Thoroughly
Properly cleaning your juicer after each use is crucial for optimal performance and fresh-tasting juice. Start by unplugging the juicer and disassembling all parts immediately to prevent residue from hardening.
Soak the components in warm, soapy water to loosen dried pulp and juice. Use a soft-bristled brush to scrub each piece, paying special attention to the mesh strainer and tight spaces where residue can hide. The gentle bristles help remove all pulp without causing damage.
After scrubbing, rinse all parts thoroughly under running water to ensure no soap residue remains, as it can affect the taste of your juice. Thorough rinsing is essential for maintaining the quality and performance of your juicer.
Dry and Reassemble Properly
Ensuring your juicer is completely dry before reassembling it is crucial to prevent moisture buildup, which can lead to mold and bacteria. After cleaning all the parts thoroughly, allow them to air dry or use a clean towel to expedite the process. Pay close attention to any crevices where water might linger, as even a small amount of moisture can cause long-term issues.
When reassembling your juicer, follow the manufacturer's instructions meticulously. Ensure each component fits securely to maintain optimal performance. Regularly check that all parts are dry and free from juice residue to prolong the lifespan and hygiene of your juicer.
Remember to keep the motor base dry and clean. Avoid submerging it in water; instead, wipe it with a damp cloth and dry it completely. This step is essential to ensure the motor remains functional and safe to use.
Reassembly and Maintenance Tips
When reassembling your juicer after cleaning, ensure every component is completely dry to prevent moisture-related issues and mold growth. Prompt reassembly is essential to avoid grime accumulation and maintain optimal performance. Here are some tips for cleaning and reassembly:
| Steps | Action | Benefit |
|---|---|---|
| Dry Components | Ensure all parts are thoroughly dried | Prevents mold and moisture issues |
| Prompt Reassembly | Reassemble immediately after drying | Avoids grime buildup |
| Inspect Parts | Check for wear or damage during reassembly | Ensures safe and efficient operation |
| Follow Guidelines | Use manufacturer instructions for reassembly | Guarantees correct fit and function |
Regularly inspect your juicer for any signs of wear or damage to ensure safe and efficient operation. Follow the manufacturer's guidelines for reassembly to make sure all parts fit correctly and function as intended. This practice prolongs the lifespan of your juicer and ensures smooth operation every time.
After reassembly, store your juicer in a dry place to avoid exposure to humidity, which could lead to rust or malfunction of internal components. By following these steps, you'll keep your juicer in prime condition and ready for use whenever needed.
Safe Juicing Practices
Maintaining safe juicing practices starts with your hands. Always wash them thoroughly before and after handling fruits and vegetables to prevent cross-contamination. Scrub all produce under running water, paying close attention to firm items like apples and oranges to remove dirt and pesticide residues.
When preparing your ingredients, remove any damaged or bruised areas as these spots can harbor bacteria and compromise juice quality. Following FDA guidelines, ensure your cutting boards, utensils, and juicing equipment are sanitized properly after each use. This step is essential to keep your juice free from harmful bacteria and contaminants.
For a deep clean, disassemble your juicer and wash its components carefully. This promotes safe consumption and extends the lifespan of your equipment. Remember, cleanliness is key to a healthy juicing routine.
Here's how you can make your juicing experience safer:
- Feel confident: Serve juice that's free from harmful bacteria.
- Stay healthy: Safe practices help prevent foodborne illnesses.
- Enjoy peace of mind: Clean equipment means safer juice.
- Relish every sip: Know your juice is pure and clean.
Environmental Considerations
Addressing environmental considerations is crucial when it comes to juicing. With approximately 12 million tons of plastic entering the oceans annually, adopting sustainable practices in your juicer use can make a significant difference. Start by choosing juicers from companies like Grove that are committed to eliminating plastic from their products and packaging. These eco-friendly alternatives not only reduce plastic waste but also support brands that prioritize transparency and sustainability.
Consider the materials your juicer is made of. Opt for appliances designed with sustainability in mind, using materials that are either recyclable or biodegradable. By making informed choices, you contribute to reducing plastic pollution and fostering a healthier planet.
When it comes to maintenance, avoid single-use plastic cleaning tools. Instead, use reusable brushes and cloths. These small changes in your routine can collectively have a big impact.