Simple Steps to Wash Your Juicer
After making that rejuvenating juice, it's essential to clean your juicer properly to ensure it stays in top condition. Start by unplugging and completely disassembling the juicer to access every part. Rinse each component under running water, using a soft-bristled brush to remove any stubborn residue. For particularly tough spots, soaking parts in warm, soapy water may be necessary. To clean the base and hard-to-reach areas, use a damp cloth. Make sure everything is thoroughly dried before reassembling. This process ensures your juicer remains efficient and hygienic.
Importance of Regular Cleaning
Regularly cleaning your juicer is essential for multiple reasons. Juicing fruits and vegetables leaves behind remnants like pulp and skin, which can accumulate in the machine. If not cleaned promptly, this buildup can foster bacteria and mold growth, posing significant health risks. Fermented bits of produce increase the chance of foodborne illnesses, making regular cleaning not just advisable but necessary.
Maintaining a clean juicer also prevents unpleasant odors. Lingering smells from previous uses can taint your fresh juice, compromising its taste and nutritional value. Regular cleaning ensures that your juice remains pure and free from contaminants.
Additionally, failing to clean your juicer can lead to mechanical issues. Pulp and residue buildup can cause malfunctions, reducing the efficiency and lifespan of the machine. This neglect could ultimately result in higher costs for repairs or replacements. Fortunately, most juicer parts are dishwasher-safe, making it easy to incorporate regular cleaning into your routine.
Quick Cleaning Techniques
The efficiency and longevity of your juicer rely on quick, effective cleaning techniques that fit seamlessly into your routine. Always begin by unplugging the juicer and disassembling all removable parts immediately after use. This crucial step ensures that cleaning is more thorough and prevents pulp and juice residue from drying and becoming difficult to remove.
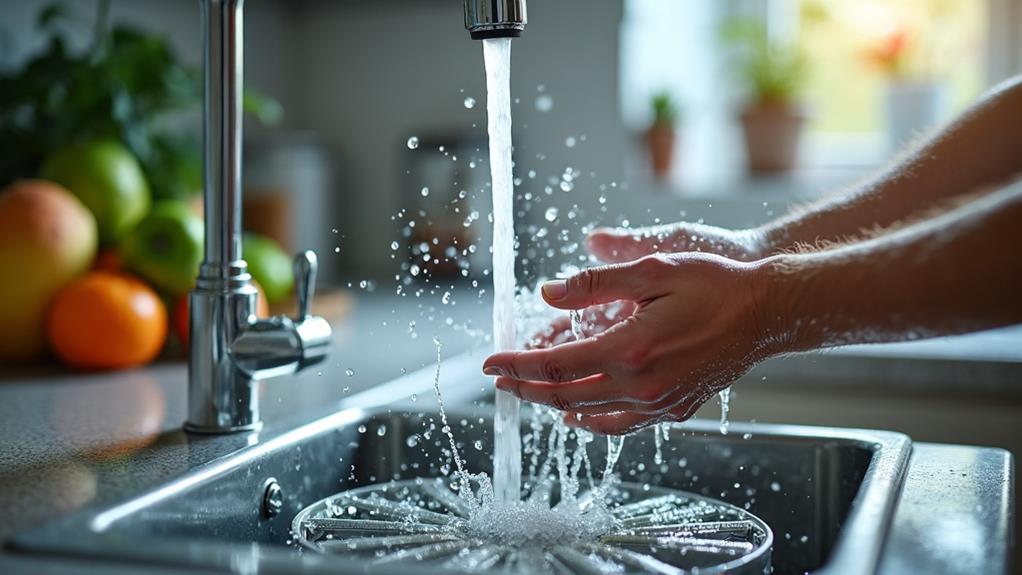
Immediately after juicing, rinse each component under running water. This prompt action is one of the most effective quick-cleaning techniques, as it removes most pulp and juice residue before they have a chance to stick. Use the provided brushes or a soft-bristled toothbrush to scrub any tight spaces and mechanisms, effectively reaching nooks and crannies where pulp tends to get trapped.
For stubborn stains or dried pulp, soak the parts in warm, soapy water for a few hours to loosen any remaining residue, making it easier to clean off later. Ensure all parts are thoroughly dried before reassembling the juicer to prevent sticky residues and maintain the juicer's optimal performance.
Rinsing and Dishwasher Use
Before placing your juicer parts in the dishwasher, rinse them under running water to prevent residue from hardening. Refer to the manufacturer's guidelines to confirm each component is dishwasher safe. Use a gentle cycle and avoid high heat to protect delicate parts from potential damage.
Pre-Rinsing Importance
To maintain your juicer effectively, pre-rinsing the parts immediately after use is essential. This step helps remove major juice and pulp residues, preventing them from drying and hardening, which can complicate the cleaning process. A quick rinse right after juicing simplifies and streamlines the entire cleaning routine.
Pre-rinsing also eases the workload when it's time for a thorough wash. Rinsing components before placing them in the dishwasher ensures more effective cleaning by preventing residue buildup. This not only saves time but also helps maintain the performance and longevity of your juicer.
Additionally, immediate rinsing reduces the risk of bacteria and mold growth in any leftover juices, contributing to a healthier juicing experience. A quick pre-rinse keeps your juicer parts in top condition, making deep cleaning less frequent and less labor-intensive. A small effort after juicing can save significant hassle later. Don't skip this crucial step in your juicer cleaning routine.
Dishwasher Compatibility Check
After pre-rinsing your juicer parts, the next step is to verify their dishwasher compatibility. To avoid damaging any components, consult the manufacturer's guidelines to determine which parts are dishwasher safe. This information is typically found in the user manual or on the manufacturer's website.
Once you've identified the dishwasher-safe parts, take special care with plastic components. Plastic parts can warp or become damaged when exposed to high heat. To mitigate this risk, place them on the top rack of the dishwasher, where they are less likely to encounter intense heat.
Pre-rinsing juicer parts before putting them in the dishwasher is not only a good habit but also helps prevent juice residue from drying and hardening. This step reduces the workload on your dishwasher, allowing it to clean more effectively.
Effective Rinsing Tips
To maintain your juicer in optimal condition, begin by hand-rinsing all components immediately after use. This step prevents residue from drying and hardening, making subsequent cleaning more efficient. Rinse each part under running water to remove major juice and pulp, thereby reducing the workload on your dishwasher.
If your juicer parts are labeled as dishwasher safe, consult the manufacturer's guidelines before placing them in the dishwasher. Ensure all parts are thoroughly rinsed beforehand to guarantee peak cleanliness and maintenance.
For plastic parts susceptible to odors and discoloration, soak them in a solution of lemon juice and water or vinegar and water before rinsing. This pre-treatment helps neutralize odors and remove stubborn stains. After soaking, rinse these parts thoroughly under running water.
Once rinsed, allow all parts to dry completely before reassembling your juicer. Proper drying prevents mold growth and ensures your juicer is ready for its next use. By following these effective rinsing tips, you'll keep your juicer in excellent condition and ready for your next delicious juice blend.
Cleaning the Base
Cleaning the Base
Your juicer's base is the heart of the appliance and requires special care to stay in excellent condition. Proper cleaning of the base ensures your juicer remains safe and efficient. Never submerge the base in water, as this can damage the electrical components and render your juicer inoperable.
To clean the base, first unplug the juicer. Use a damp cloth dipped in clean water to wipe down the exterior and connection mechanisms, effectively removing juice splatters and residue. For stubborn stains or watermarks, sprinkle a small amount of baking soda on a damp cloth and gently rub the affected areas. Baking soda is excellent for lifting stains without scratching the surface.
After cleaning, dry the base completely with a soft, dry cloth. This step prevents sticky residues and maintains the base's fresh appearance. Regular cleaning not only keeps the base looking new but also helps extend the juicer's overall lifespan. By following these simple steps, you'll ensure your juicer remains in top condition, ready to provide fresh juice whenever you need it.
Odor and Discoloration Treatment
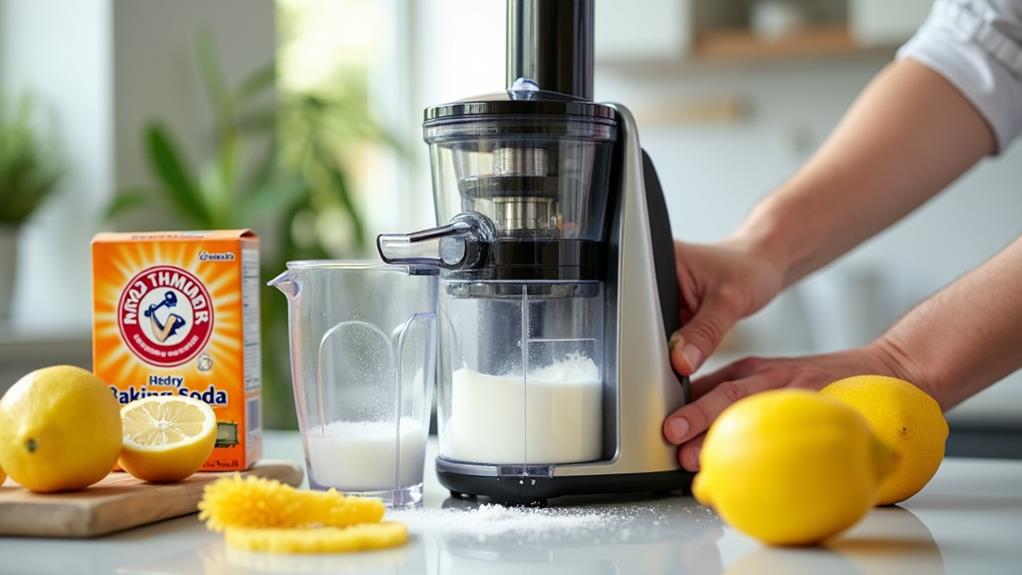
To eliminate stubborn odors and discoloration in your juicer, soak the plastic parts in a solution of lemon juice and water or vinegar and water. For optimal results, let them soak overnight, though a few hours can also be effective. After soaking, rinse thoroughly and dry with a microfiber cloth to prevent future odors.
Effective Soaking Solutions
Regularly soaking your juicer parts in a solution of equal parts lemon juice and water or vinegar and water can effectively address odor and discoloration issues. This natural method provides a safer and more eco-friendly alternative to harsh chemicals, ensuring your juicer remains clean and fresh.
Here's a quick guide on how to use these soaking solutions:
| Solution Type | Soaking Duration | Benefits |
|---|---|---|
| Lemon Juice & Water | 2-4 hours | Natural deodorizer, brightens |
| Vinegar & Water | 2-4 hours | Cuts through grease, whitens |
| Lemon Juice & Water | Overnight | Deep cleaning, odor removal |
Soaking for a few hours yields satisfactory results, but for deep-rooted odors, overnight soaking is highly effective. After soaking, dry the parts thoroughly with a microfiber cloth to prevent moisture buildup and potential mold or mildew. Regular treatment with these solutions helps maintain the appearance and extend the lifespan of your juicer, ensuring it remains fresh and ready for use without the need for harsh chemicals.
Overnight Odor Removal
When regular cleaning isn't enough to tackle stubborn odors and discolorations on your juicer parts, soaking them overnight can be an effective solution. Mix equal parts of vinegar and water in a large container to create a natural cleaning solution that breaks down deep-rooted odors and stains. Fully submerge the plastic parts of your juicer in this mixture and let them soak overnight for optimal results.
If you're pressed for time, even a few hours of soaking can help. After soaking, rinse the parts thoroughly with clean water to remove any residual vinegar. Dry them completely with a microfiber cloth to prevent moisture retention, which can lead to mold growth.
Incorporating this soaking method into your regular cleaning routine can prevent long-term damage to the plastic components, maintaining their appearance and functionality. A well-maintained juicer ensures a healthier, more enjoyable juicing experience.
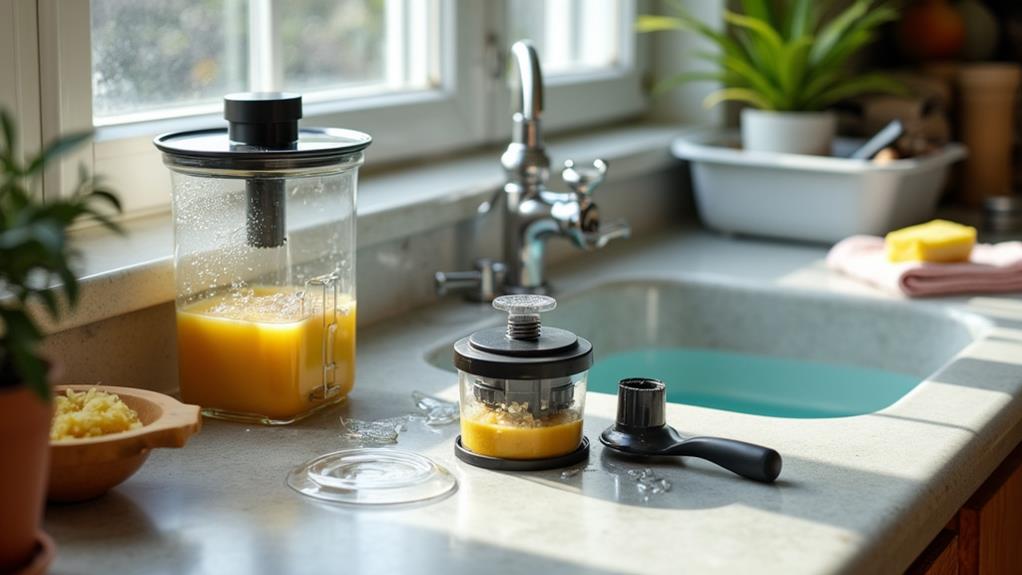
Cleaning Supplies Needed
To efficiently clean your juicer, having the right supplies is essential. Proper tools ensure thorough cleaning, maintaining your juicer's performance and hygiene. Here are the key cleaning supplies you'll need:
- Scrub Brush: Crucial for removing stubborn residue and pulp buildup from larger components, ensuring no bits are left that could affect performance.
- Baking Soda: A natural abrasive cleaner perfect for tackling tough stains and odors on juicer parts. It's gentle yet effective, making it ideal for regular use.
- Dish Soap: Essential for washing components, dish soap helps eliminate grease and food particles. A good dish soap ensures all parts are thoroughly clean before rinsing.
- Soft-Bristled Toothbrush: Indispensable for reaching tight spaces and scrubbing small parts of the juicer. It can access areas where a larger brush might not fit.
Having these supplies will make cleaning your juicer straightforward, keeping it in optimal condition for each use.
Steps to Clean a Juicer
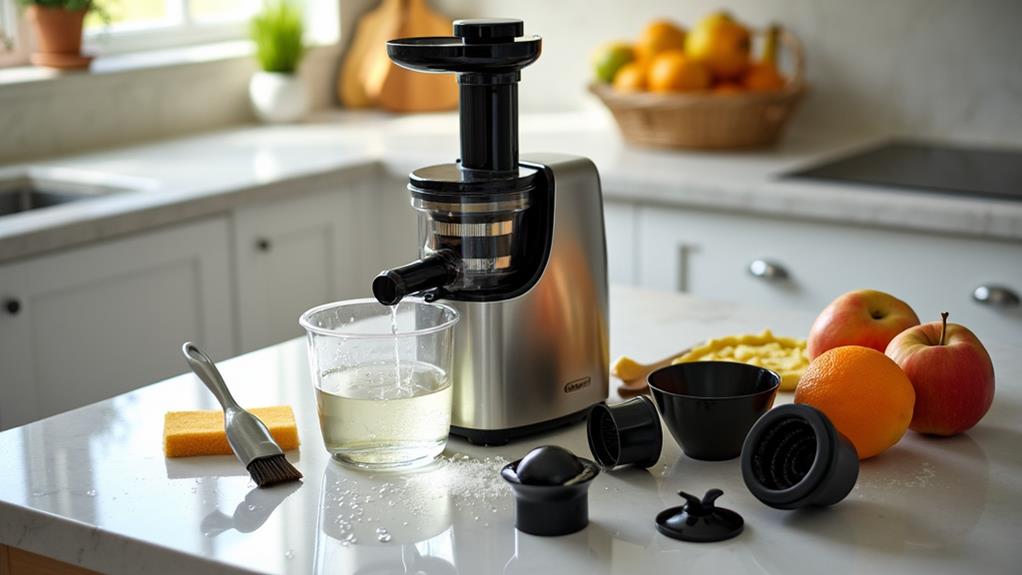
With your cleaning supplies ready, you can begin washing your juicer. It's crucial to clean your juicer immediately after use to prevent juice residue from drying and hardening, which makes the cleaning process easier. Start by unplugging the juicer and disassembling all removable parts.
Next, soak all the components, including the pulp container, in warm, soapy water for at least 15 minutes to loosen any stuck-on pulp and juice. Use a soft-bristled brush or toothbrush to scrub tight spaces and ensure all residue is removed from the filters and juicing mechanisms.
| Step | Feeling |
|---|---|
| Unplug and disassemble | Relief from tackling grime early |
| Soak in soapy water | Patience as the residue loosens |
| Scrub with brush | Satisfaction of seeing it clean |
| Rinse thoroughly | Confidence in a job well done |
After soaking and scrubbing, rinse all parts thoroughly under running water to ensure no soap or juice residues remain. Check for any stubborn stains that might need further scrubbing. Finally, wipe the juicer's base with a damp cloth—remember, do not submerge it in water. Allow all parts to dry completely before reassembling. Following these steps ensures your juicer remains clean and efficient.
Reassembly and Maintenance Tips
After ensuring all parts are completely dry, reassemble your juicer in the reverse order of disassembly, ensuring each component aligns properly for a secure fit. This prevents sticky residues and maintains smooth operation.
To keep your juicer in optimal condition, follow these maintenance tips:
- Regularly inspect for worn-out parts: Check seals and filters and replace them as needed to maintain efficiency.
- Store in a clean, dry area: Prevents bacteria or mold growth on any remaining residue.
- Create a maintenance schedule: Include thorough cleaning and inspection to ensure consistent performance.
- Ensure proper alignment: Proper alignment during reassembly is crucial for a secure fit and peak performance.