Simple Steps to Clean Your Juicer
To clean your juicer, start by unplugging and disassembling all removable parts. Soak these in warm, soapy water, focusing on the pulp container and stainless steel filter. Use a toothbrush for small crevices and a scrub brush for larger components. Rinse everything thoroughly under running water, guaranteeing no soap residue remains. Wipe the juicer base with a damp microfiber cloth. For stubborn stains and odors, soak parts in water with baking soda or a 10% solution of lemon juice or vinegar. Ascertain all parts are dry before reassembly. There's more to uncover about maintaining your juicer's longevity.
Importance of Regular Cleaning
Regular cleaning of your juicer is vital for both health and performance. When you clean your juicer after each use, you prevent the fermentation of leftover fruits and vegetables. This step is fundamental in ensuring that your juice stays fresh and safe to drink. Neglecting this can lead to bacteria flourishing on remnants left at room temperature, increasing the risk of foodborne illness. By maintaining a clean juicer, you avoid unpleasant experiences with contaminated juice that could adversely affect both its flavor and your health.
Many juicers feature components that are dishwasher-safe, which simplifies the process and encourages consistent hygiene practices. Regular cleaning not only safeguards your health but also improves the performance of your juicer. A clean appliance operates more efficiently, delivering smooth, consistent results with each use. Furthermore, this diligent care prolongs the lifespan of your juicer, saving you money over time by reducing wear and tear. By making it a habit to clean your juicer regularly, you're investing in your appliance's longevity and ensuring that it continues to serve you with excellent performance and quality juice every time.
Essential Cleaning Tools
When cleaning your juicer, having the right tools at hand makes all the difference. To guarantee every part is spotless, start with a toothbrush. It's a vital cleaning tool for reaching those small, intricate parts of your juicer that are often hard to clean. Its bristles can scrub away stubborn residue, guaranteeing thorough cleaning. For larger components, a scrub brush is your go-to. It effectively removes buildup from surfaces, making it easier to clean a juicer quickly and efficiently.
Baking soda is another vital tool in your cleaning arsenal. Known for its natural abrasive qualities, it tackles tough stains and neutralizes odors on juicer parts. Simply sprinkle some on stubborn spots and watch it work its magic. Pair it with dish soap, which is important for breaking down grease and residue. A little dish soap goes a long way when soaking and washing juicer components.
Step-by-Step Cleaning Guide
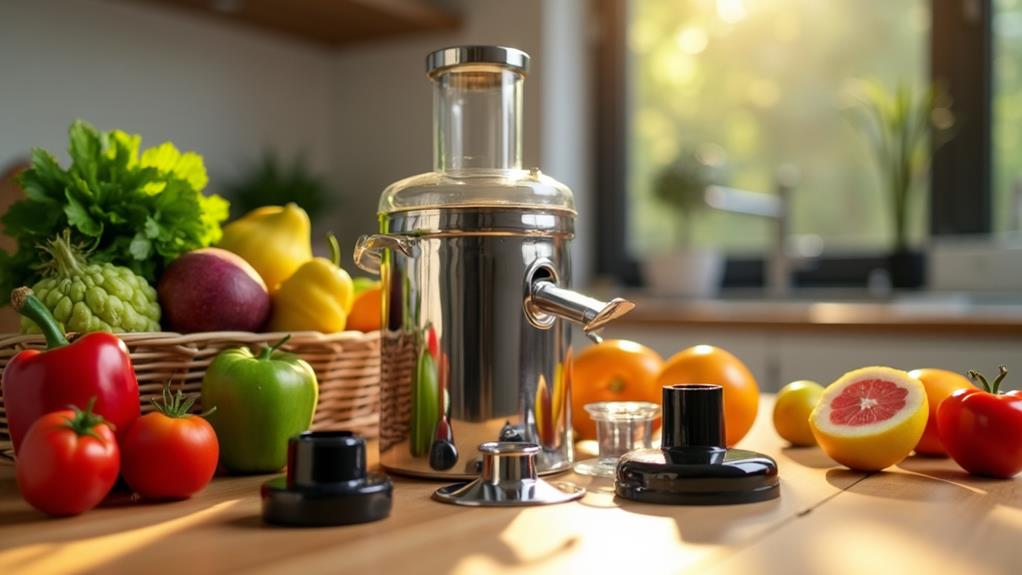
To begin cleaning your juicer, initially unplug it and carefully disassemble all removable parts, like the spout, lid, and juice container, to guarantee safety. Once disassembled, focus on the pulp container and stainless steel filter, as these often collect the most juice and pulp residue. Soak these parts in warm, soapy water for about 10-15 minutes. This step is essential for loosening any stubborn bits from fresh produce, making it easier to scrub them away.
While the parts soak, use a sponge or brush to gently scrub each piece, paying extra attention to the crevices where pulp might hide. For the stainless steel filter, a toothbrush can effectively clean the mesh without damaging it. Rinse each component thoroughly under running water to confirm all soap and pulp remnants are removed.
For the juicer base, simply wipe it down with a damp microfiber cloth. Avoid submerging it in water to protect the electrical components. Once everything is clean, lay the parts out to dry completely, guaranteeing there's no moisture buildup. Following these tips for cleaning your juicer after every use helps maintain its performance and extends its lifespan.
Addressing Stains and Odors
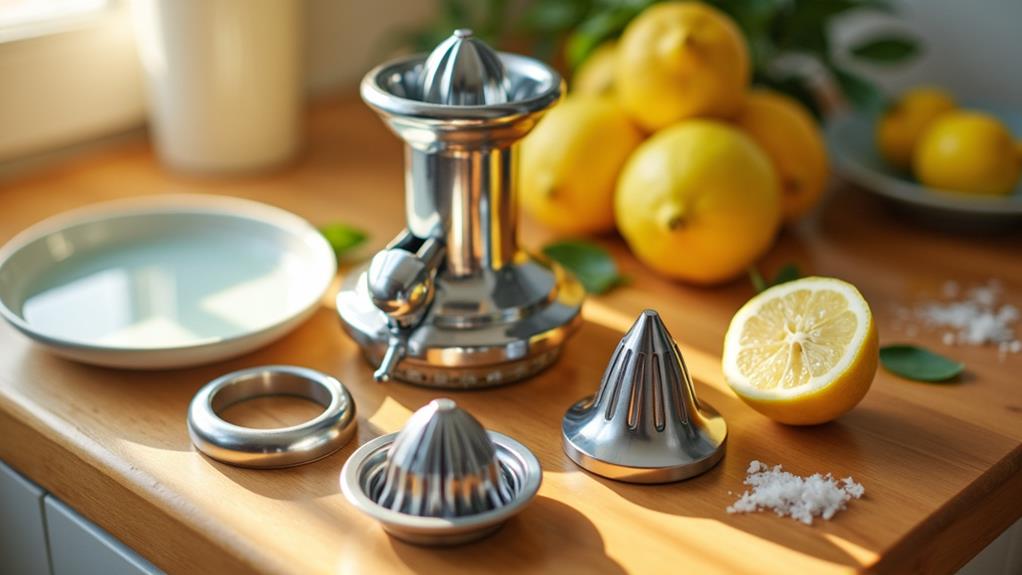
After confirming your juicer is clean and dry, you might notice some lingering stains or odors that need attention. Pulp residue can leave stubborn stains, especially if left unchecked. To tackle these, soak the affected parts in a mixture of warm water and baking soda for 10-15 minutes before scrubbing. This method effectively loosens up any persistent stains, making them easier to remove.
Persistent odors, often from the pulp, can also cling to your juicer. To combat these, soak plastic parts overnight in a solution of 10% lemon juice or white vinegar mixed with water. This helps eliminate deep-rooted smells that regular rinsing might not address.
Don't forget the mesh basket, which is prone to discoloration. After juicing, immediately rinse to prevent the pulp residue from drying. Regularly scrub the mesh basket with a soft brush after soaking it in soapy water to maintain its appearance and functionality.
For metal parts prone to watermarks, a gentle scrub with baking soda on a damp cloth will help. Confirm you rinse thoroughly and dry completely afterward to prevent further discoloration. With these steps, your juicer will remain fresh and ready for your next juice session.
Base and Component Care
For effective base and component care, start by gently wiping the juicer's base with a damp microfiber cloth, guaranteeing not to submerge it in water to protect sensitive electrical parts. This step keeps your juicer's exterior clean without risking damage to the internal components. After each juicing session, promptly rinse all removable components under running water. This prevents any juice residue from drying and sticking, making it harder to clean later.
For a more thorough cleaning, soak the removable parts in warm, soapy water for 10-15 minutes. This helps loosen any stubborn residue, especially pulp, which can be particularly sticky. Use a brush or sponge to scrub these components, paying special attention to the mesh basket. The mesh basket often traps pulp and juice, so utilize the included brush designed for this purpose to guarantee you remove all buildup.
Before reassembling your juicer, confirm all parts are completely dry. Leaving any moisture can lead to mold growth and diminish the juicer's performance. By following these steps, you'll maintain your juicer's efficiency and prolong its lifespan, guaranteeing every juice you make is fresh and clean.
Safe Juicing Practices
Every time you juice, prioritize safe juicing practices to guarantee your beverage is both delicious and safe to consume. Start by washing your hands thoroughly before and after juicing. This simple step is vital for maintaining hygiene and preventing cross-contamination. Next, inspect fruits and vegetables carefully. Look for damaged or bruised areas and remove them to avoid introducing harmful bacteria into your juice. It's important to rinse all produce under running water. Use a scrub brush on firm fruits and vegetables like apples and cucumbers to effectively remove dirt and contaminants.
Confirm your juicing environment is clean. A clean environment, free from pests and contaminants, helps confirm the safety and quality of the juice you produce. Pay special attention to your juicing equipment. All components should be clean and sanitized to minimize the risk of foodborne illness. Regularly check each part of your juicer for any residue or buildup that could harbor bacteria. Sanitize everything after each use to maintain peak cleanliness. By following these steps, you not only remove contaminants but also create a hygienic process that protects your health while letting you enjoy fresh, tasty juice.